Blackboard Content Editor
⚡ Quick Steps
- 🔑 Log into Blackboard and open your course.
- ➕ Select Plus icon create a new content item.
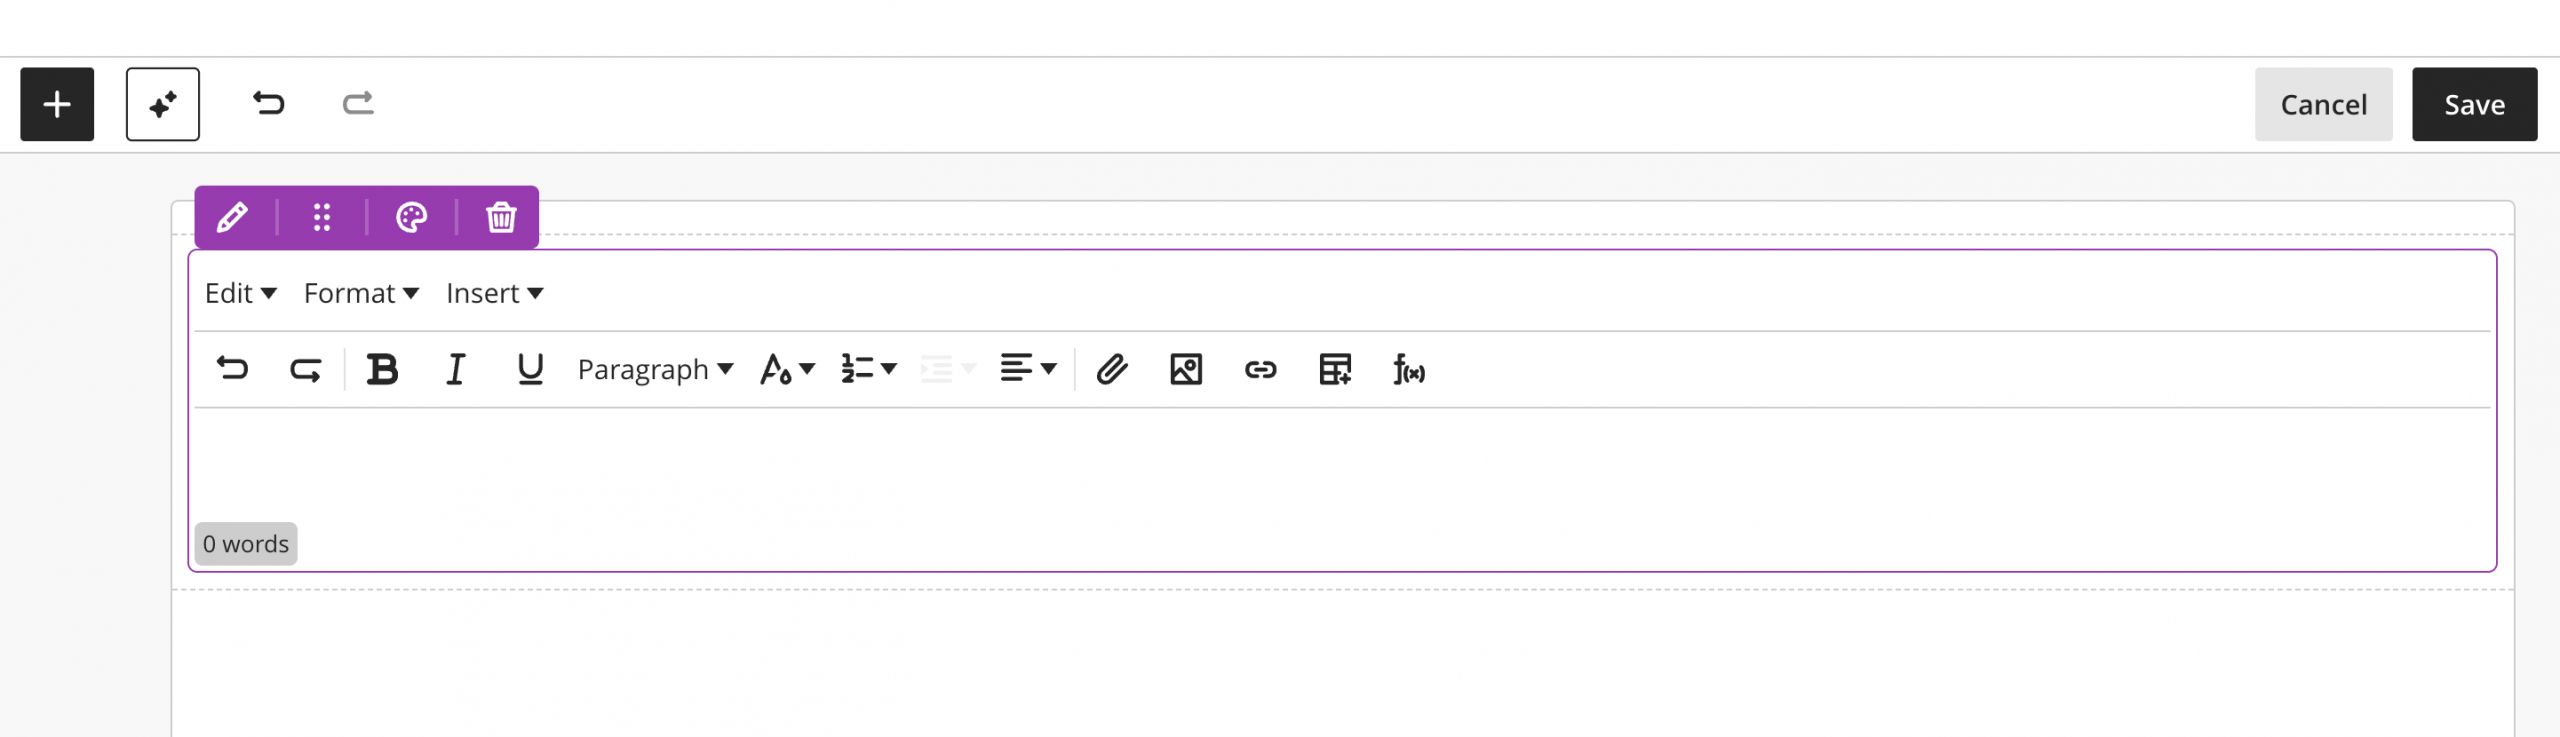
- ✍️ Use the New Content Editor (Beta) toolbar to add and format content.
- 📎 Insert images, videos, links, files, or media as needed.
- ✅ Select Save when finished.
📖 Introduction
🎓 The New Content Editor (Beta) provides a modern and flexible way to create engaging course content in Blackboard.
📝 It works much like the classic editor: you can add and format text, attach files, and insert media, links, and tables.
🎨 The beta Content Editor doesn't yet support all classic Content Editor features. For a feature-by-feature comparison, refer to the Content Editor Comparison Table.
💡 Create a new Document:
- 1️⃣ On the Course Content page, select the plus sign to create new content and select Create.
- 2️⃣ In the panel that opens, select Document.
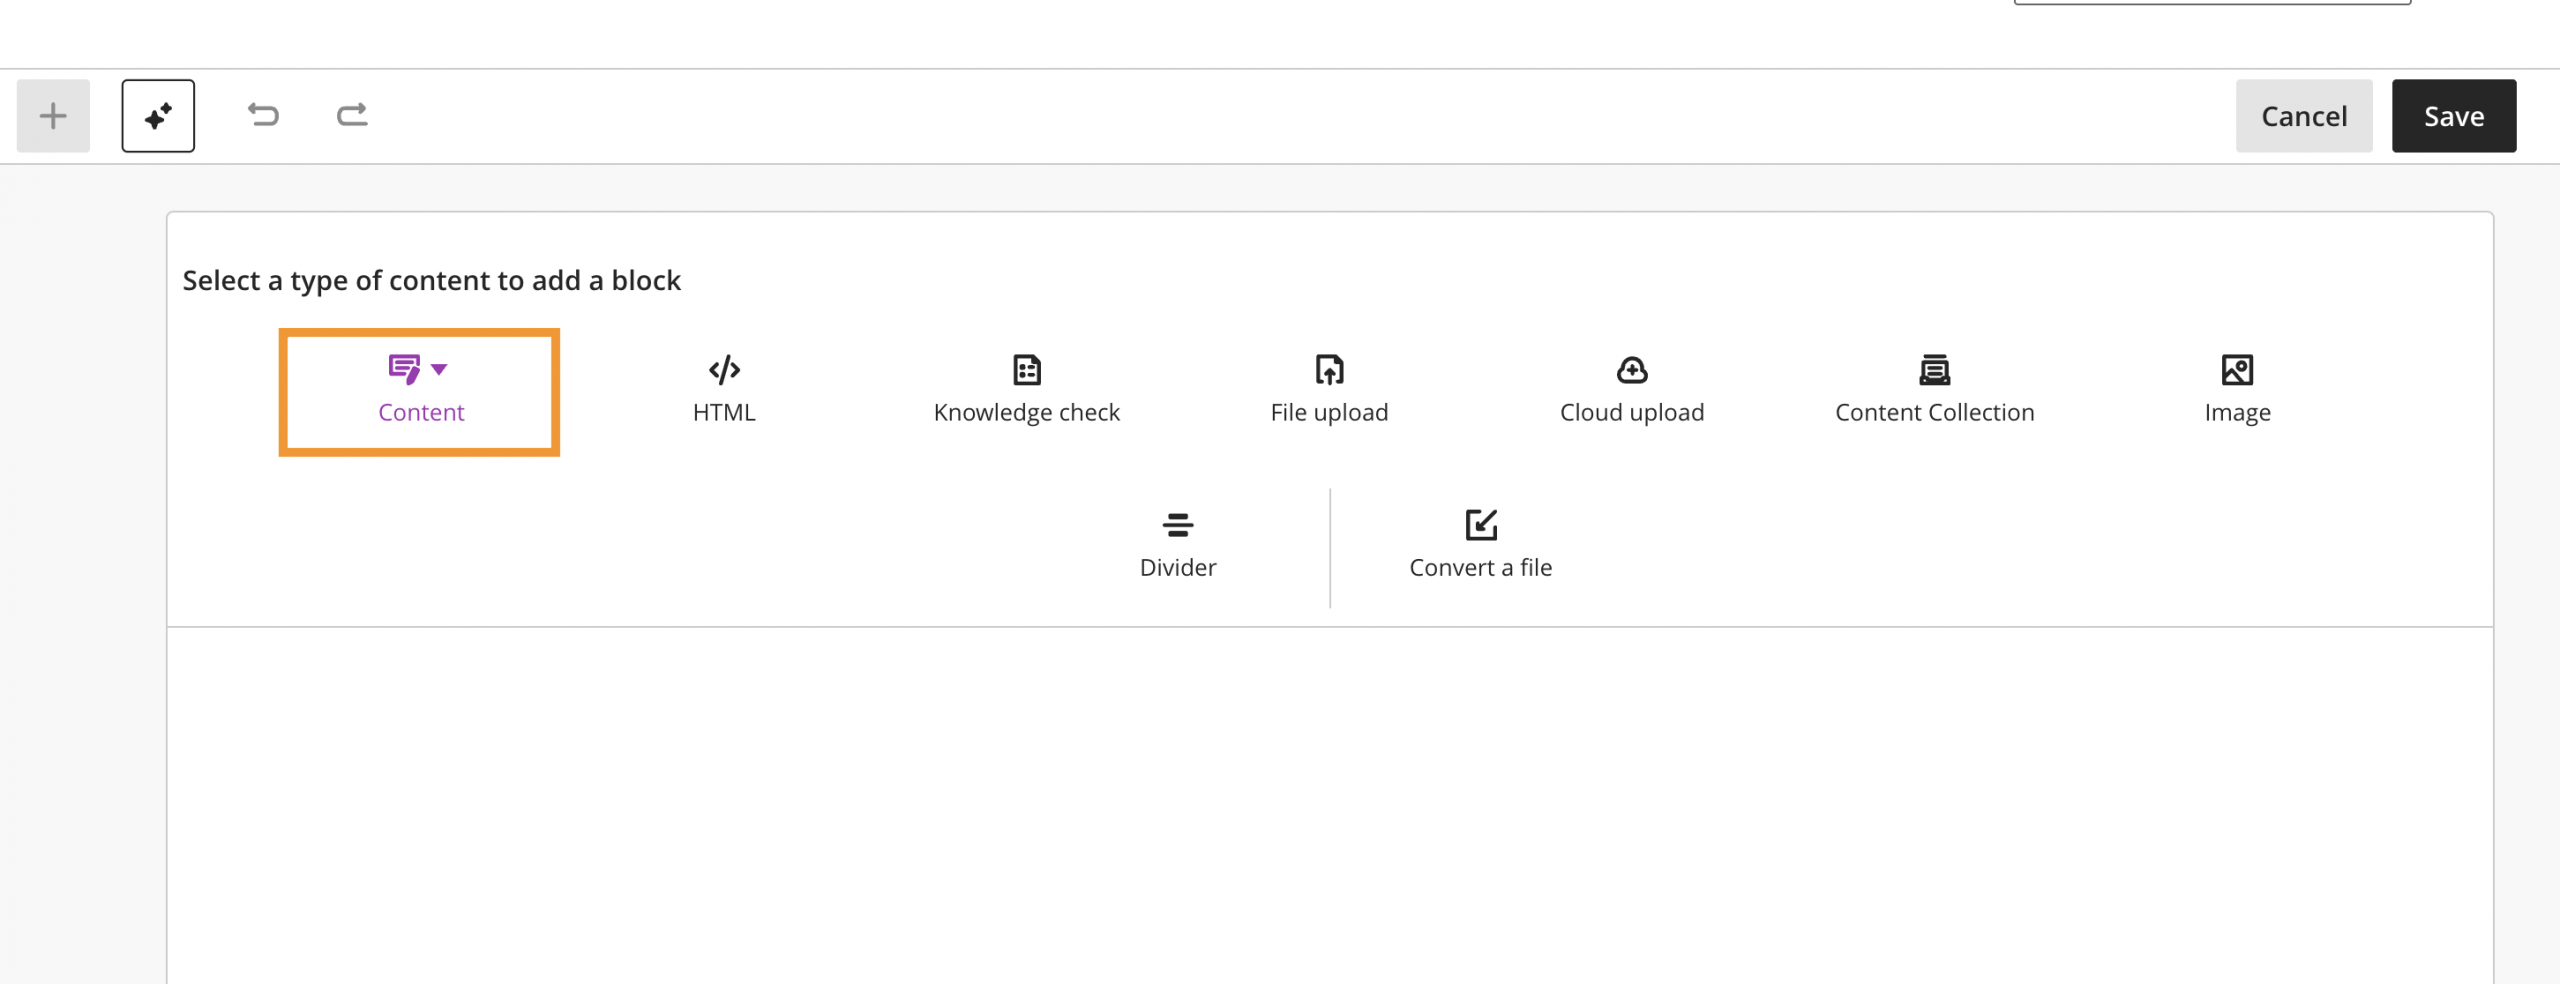
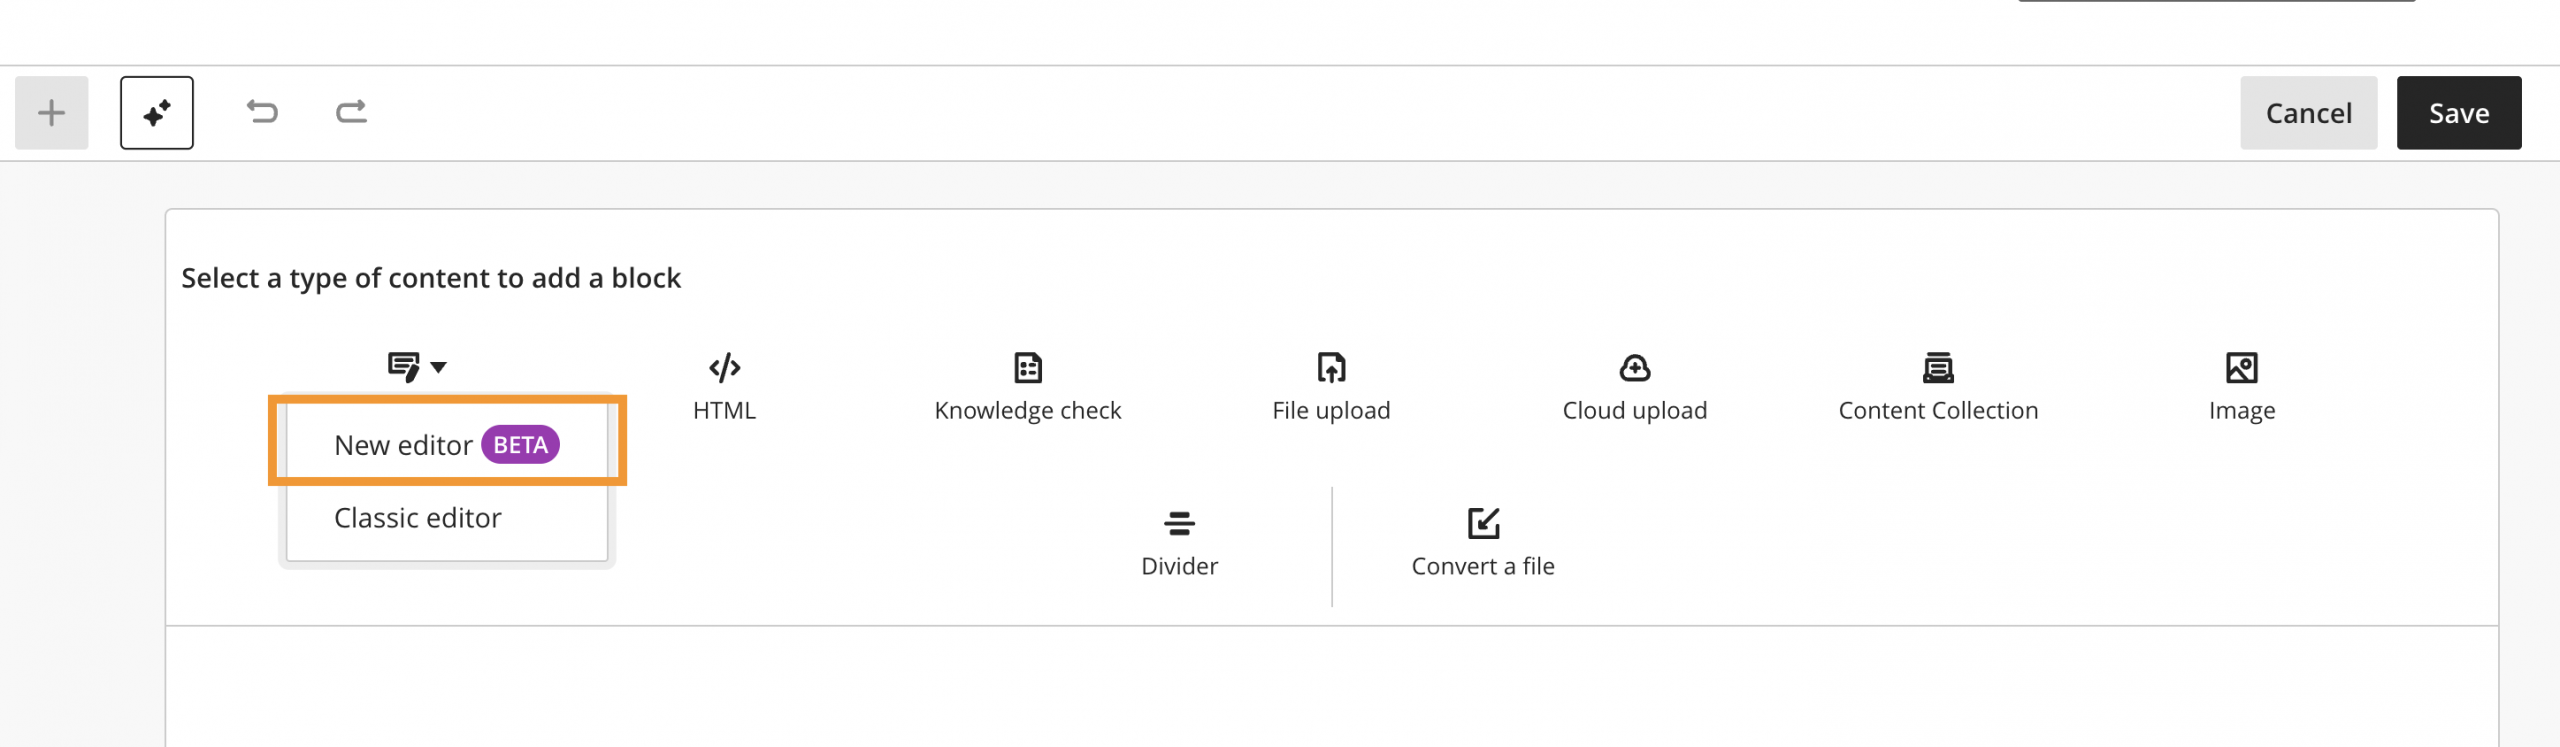
- 3️⃣ Select Content (Figure 1) and choose New editor BETA (Figure 2).
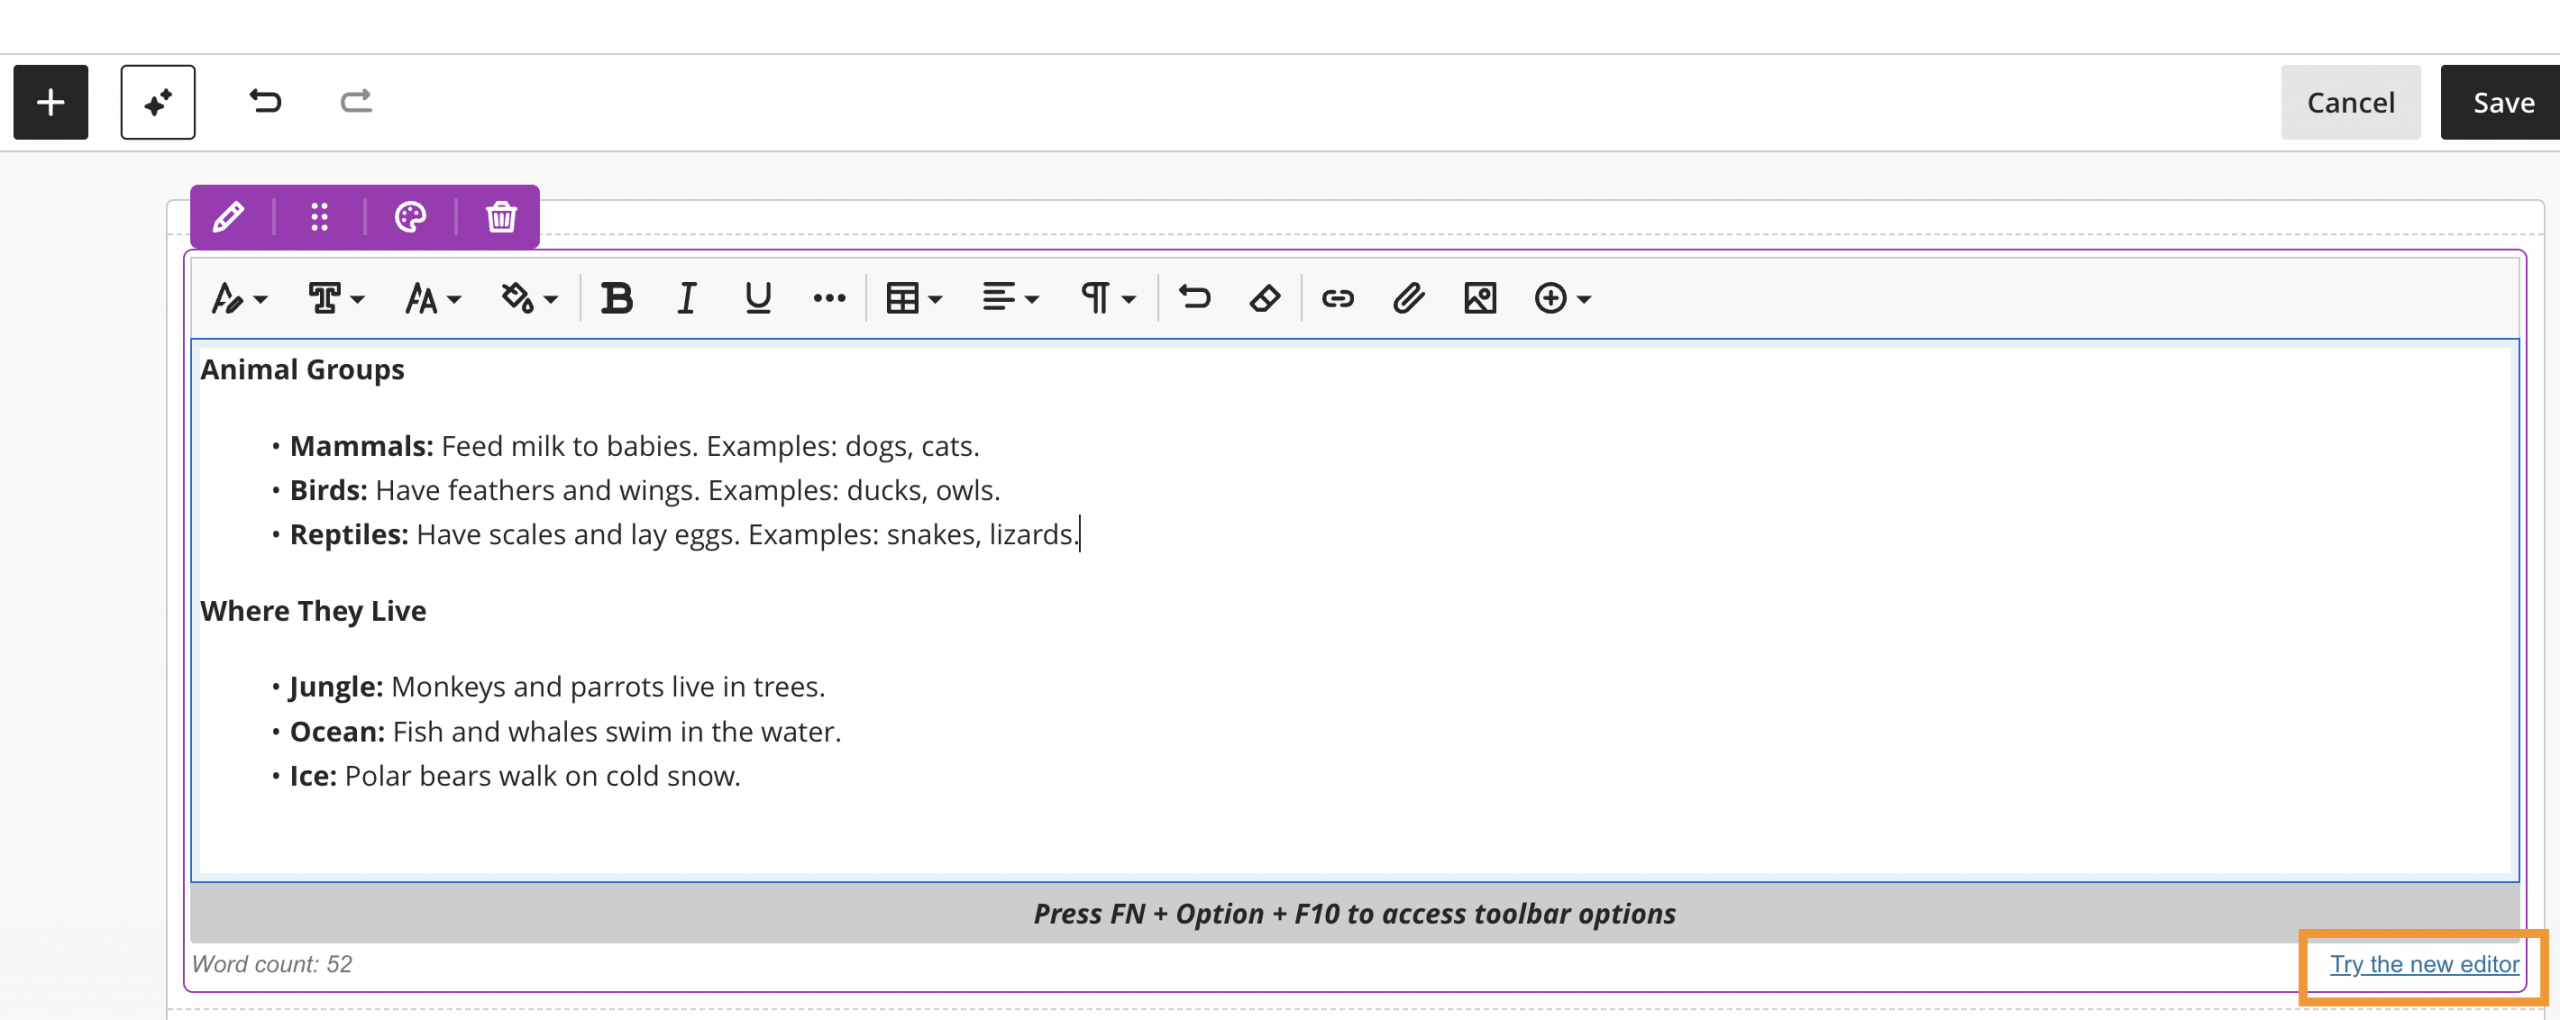
💡 You can convert content created with the classic Content Editor to the beta Content Editor.
- On the Course Content page, select the plus sign to create new content and select Create.
- In the panel that opens, select Document.
- Select Content and choose New editor BETA.
💡 Add a content block to an existing Document:
- On the Course Content page, select Edit from a Document's More options (...) menu.
- Select the plus sign to add a content block.
- Select Content and choose New editor BETA.
💡 Helpful Tips
- Use headings consistently to improve navigation.
- Keep paragraphs short and easy to scan.
- Add media only where it supports learning outcomes.
- Preview your content before making it available to students.
📚 Learn More
For full details on the New Content Editor (Beta), see the official Blackboard documentation:
📖 View the New Content Editor (Beta) Guide
💬 Need Help?
If you have any questions or experience issues while using the New Content Editor (Beta), please contact the Blackboard Support team (blackboard-support@westminster.ac.uk) for support.